Welcome to Moda Fabrics!
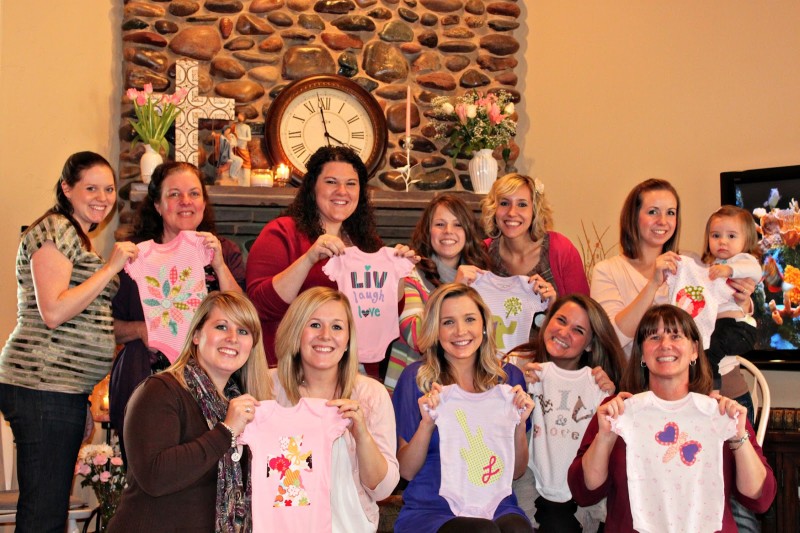
A "Charm"ing Baby Shower
A "Charm"ing Baby Shower
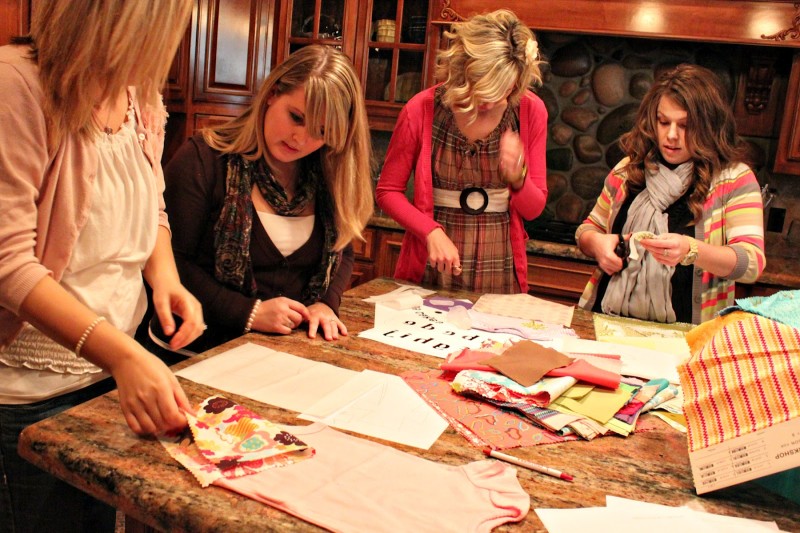
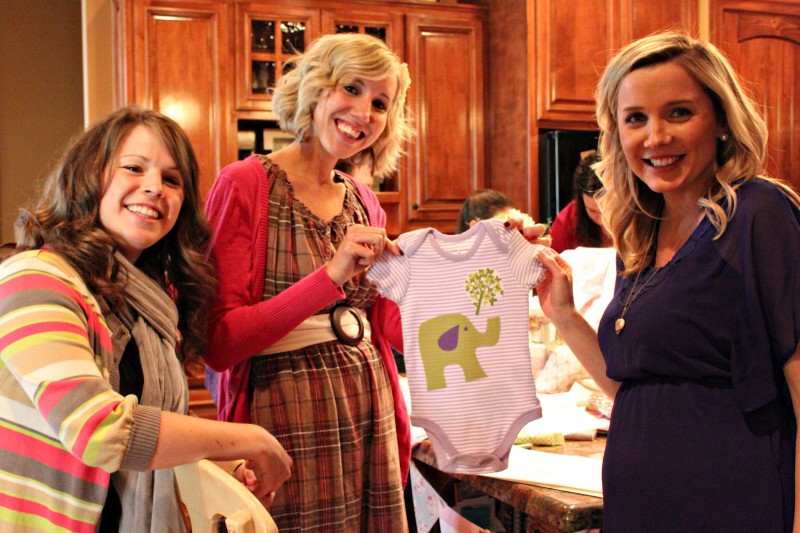
This would be a great event to host in your quilt shop or home.
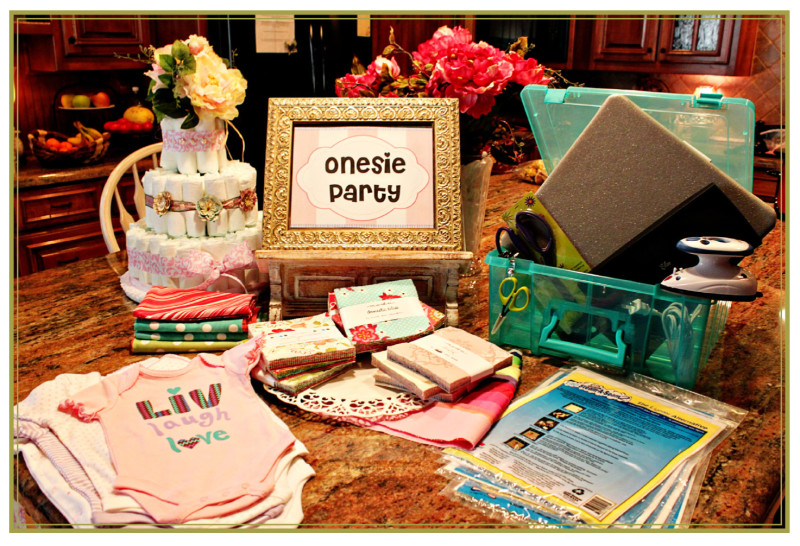
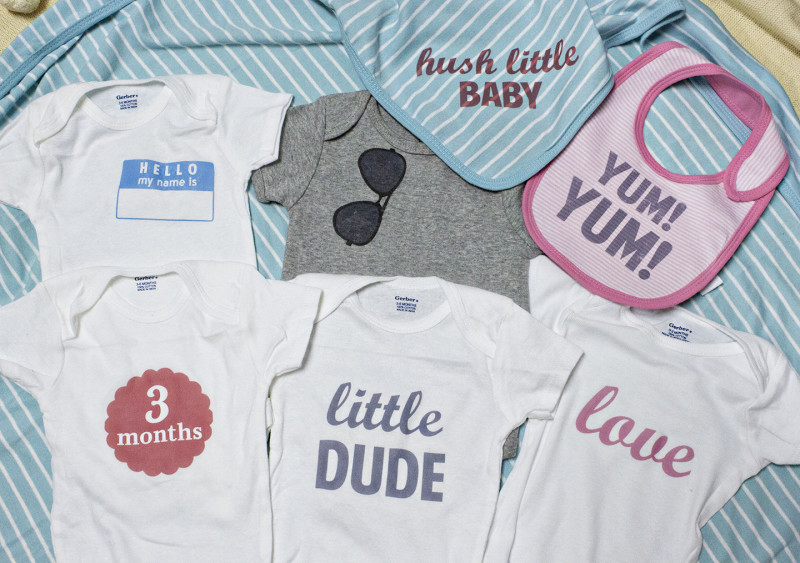
- OUTFITS & ACCESSORIES - get an assortment of onesies, shirts, jackets, bloomers, bibs, swaddle cloths, burp cloths and any other accessories you can think of to decorate.
Make sure to get a variety of colors/patterns/sizes. This makes it more FUN! :) - FABRIC...Moda Charm Packs or Moda Layer Cakes- a variety makes it more fun and personalized. Because onesies are so small, Moda Charm Packs are the PERFECT pre-cut for this project! You can also throw in some scraps.
- HeatNBond FUSIBLE PAPER (I prefer the UltraBond - especially if you will not be stitching down the edges.)
- FABRIC SCISSORS- Karen Kay Buckley "Perfect Scissors" work great because of the serrated edge. I used both the large and small size. The large for bigger pieces and the small for intricate letters or shapes. If you are hosting a large party have several pairs of scissors or it will slow the process down ALOT. I also brought my Elan set- also a large pair and small pair. It is important to use fabric scissors or the fabric will fray on the edges leaving it looking cheap and used.
- IRONING BOARD Steady Betty Pressing Surface. Only having one ironing board, the Steady Betty was a great addition because it allowed for multiple people to press at one time. And we were able to put the Steady Betty directly on the counter because it is so small and light.
- IRON-- I love my Oliso iron but any iron will do.
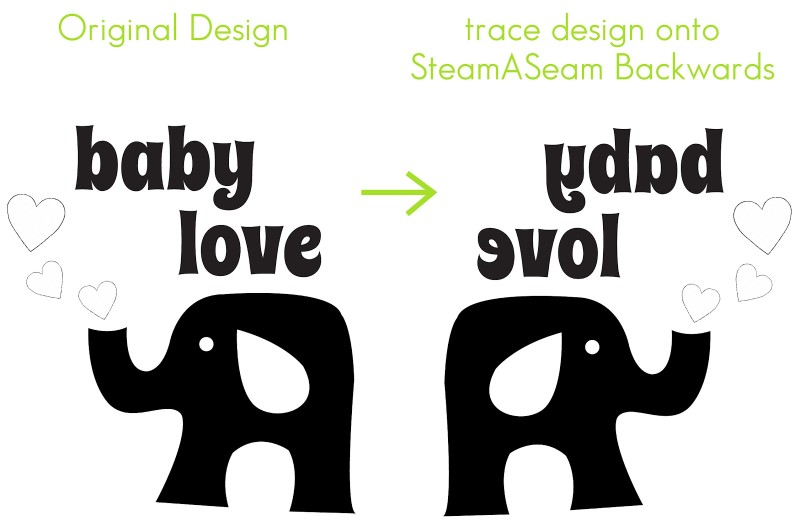
- PENS/SHARPIES- to draw/trace designs onto your fusible. Make sure to trace your design backwards (mirror image) so they will come out correct on the front side of the fabric.
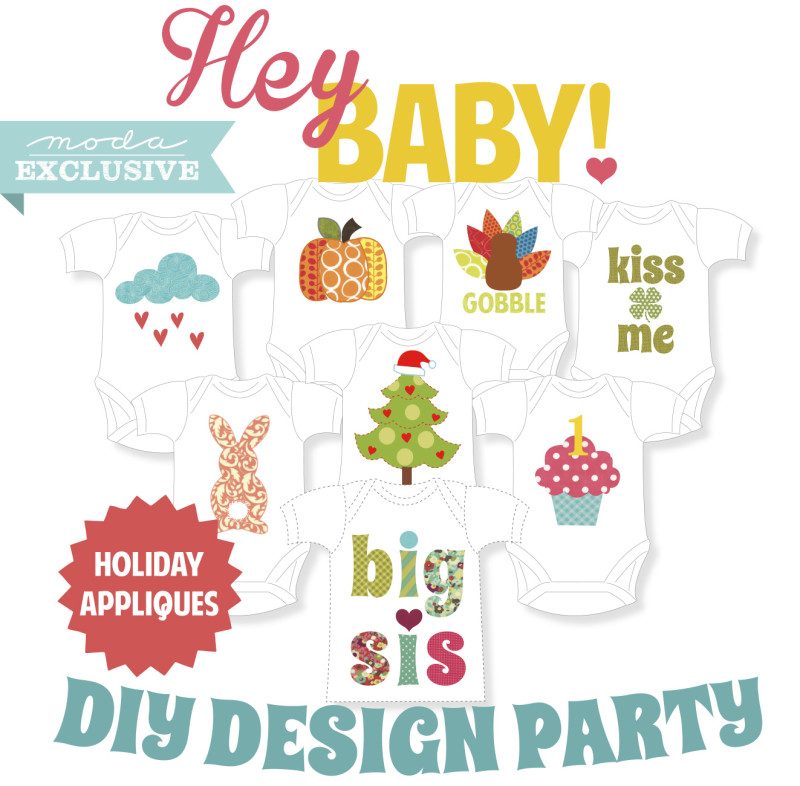
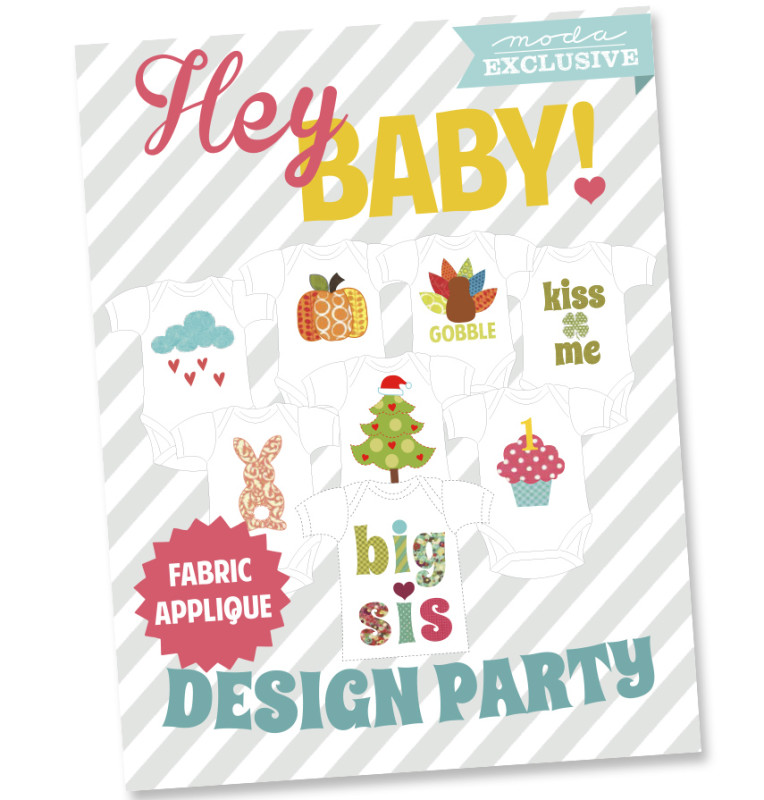
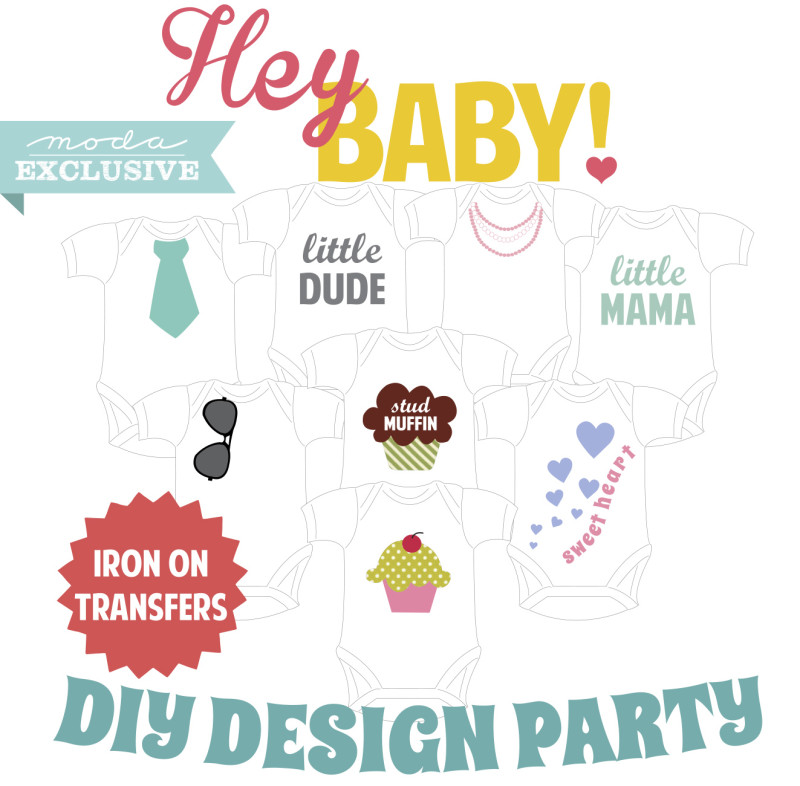
- DESIGNS- Print off our free set of designs or draw your own! Here are some you can purchase if you want a variety.
- STORAGE- ArtBin- I got the Double Deep ArtBin storage container which held all of my goodies perfectly! Loved having everything together in one place.
TRACE DESIGN or DRAW design on the SMOOTH side of the HeatNBond (or fusible of your choice).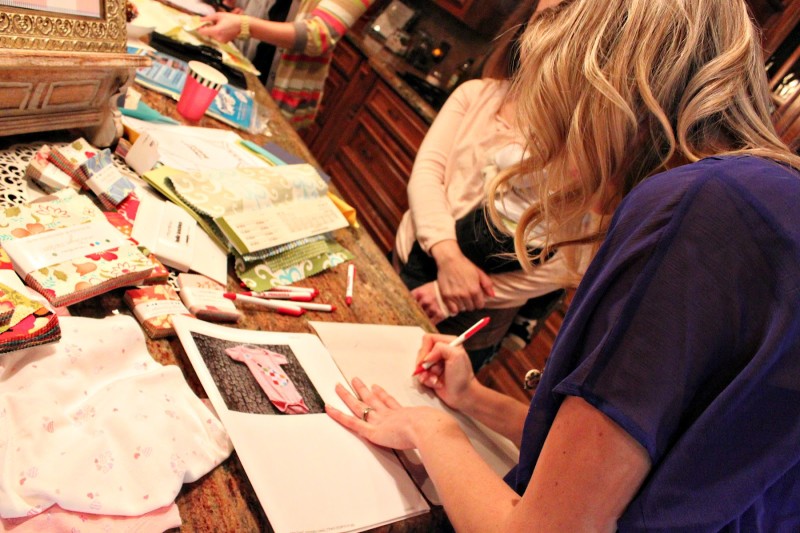
NOTE: Designs must be traced or drawn backwards (mirror image) onto the HeatNBond so when you transfer to the WRONG side of the fabric and eventually cut it out it will come out the correct direction.
**My designs have already been printed backwards and are ready to trace without flipping. But those who may decide to draw their own design must reverse their design.
CUT design out of HeatNBond leaving about 1/4” - 1/2” around the design.
IRON the STICKY SIDE of the design onto the WRONG side of your fabric and press for about 8-10 seconds. Just enough to get the stickum to adhere to the fabric.
TEST by using your finger nail to pull back a corner of the HeatNBond to see if the stickum has transferred from the Paper to the Fabric. If not, press a bit more. The paper should just peel off and not bring any stickum with it.
CUT the DESIGN out exactly on the line you drew.
PEEL back the HeatNBond paper from the fabric leaving the stickum on the WRONG side of your fabric.
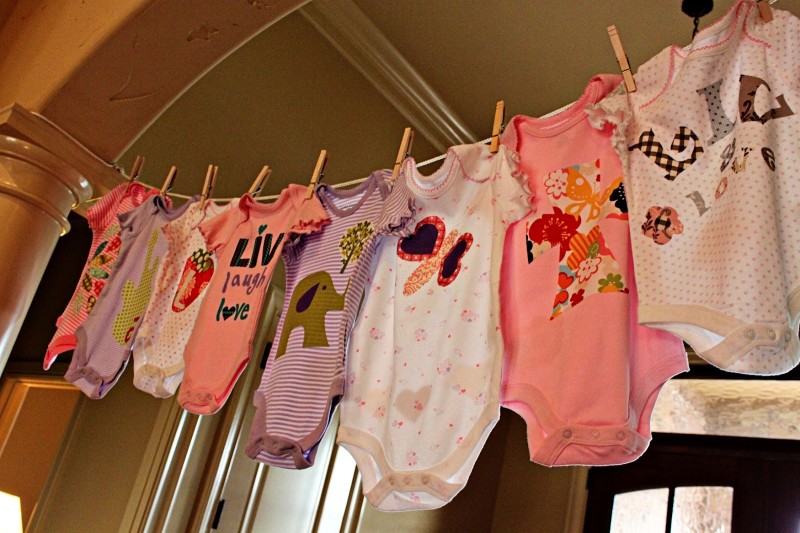
POSITION your design where you like on your onesie, shirt or accessory of choice.
IRON - Once you have it exactly where you like, IRON that baby down!
If you are layering, press one layer at a time. Repeat steps until your whole design is done!
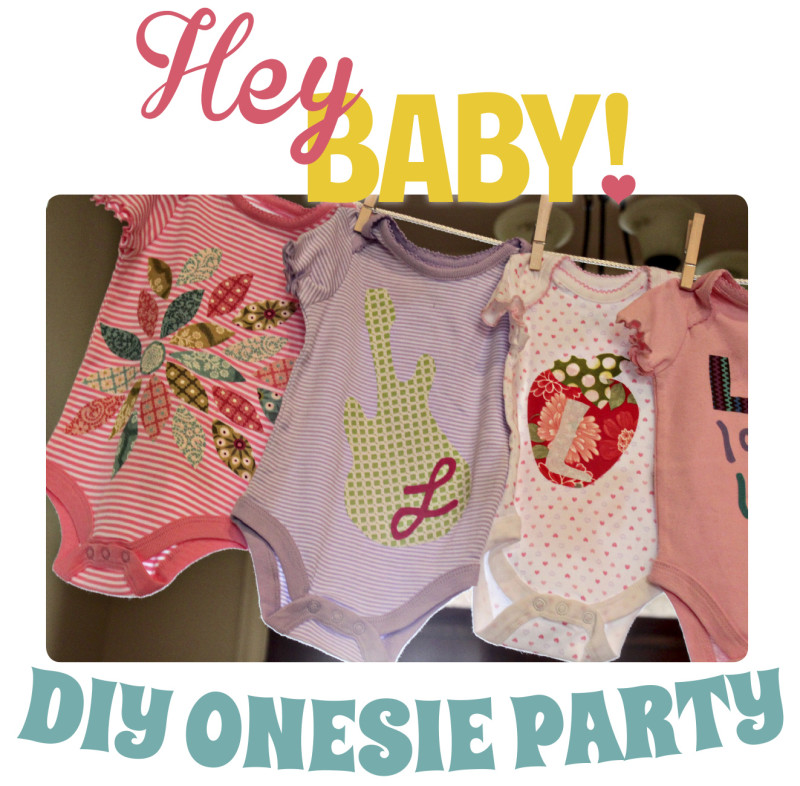
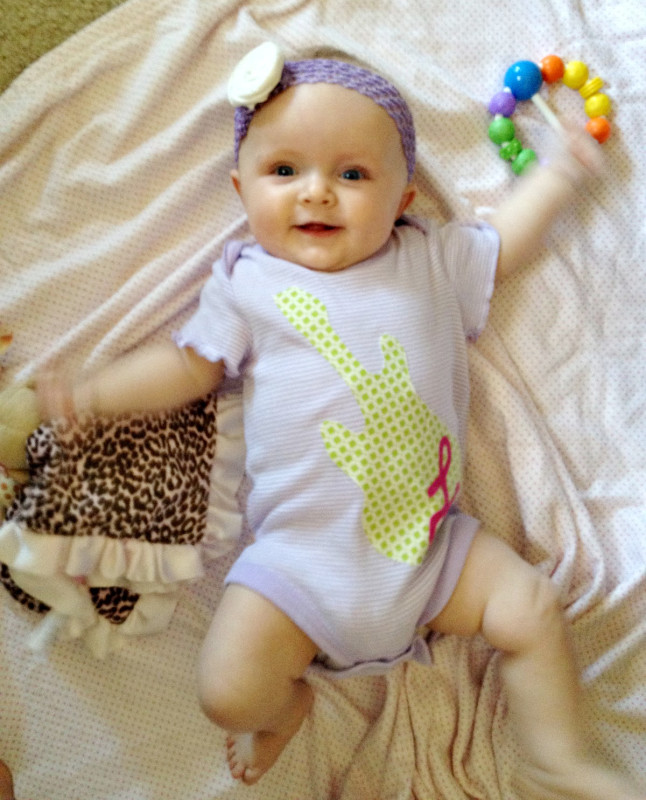
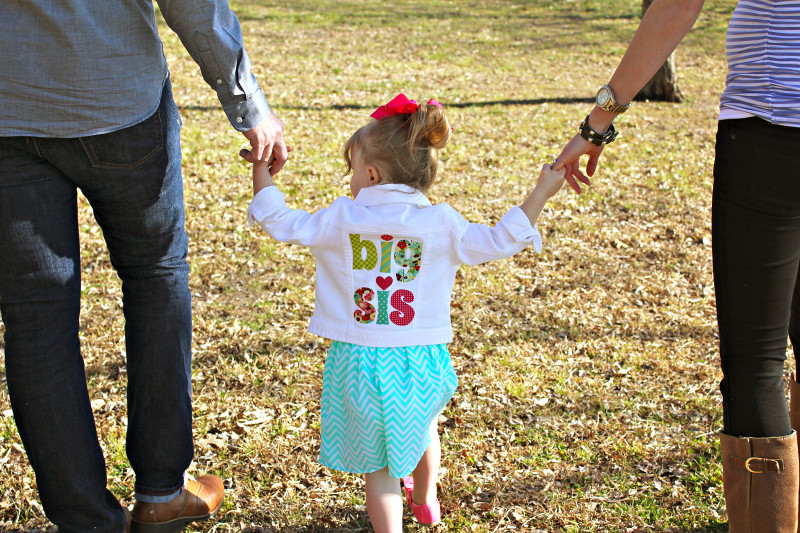
SHOW OFF your finished piece and give your “made with love” design to the Mama-to-be!
CARE
*Once the party is over you can take the onesies home and stitch the designs down by hand or
machine. I personally use blanket stitch on my machine.
This is not required but will make it last MUCH longer especially when laundered.





Comments