Welcome to Moda Fabrics!
Runway Quilt
Runway Quilt
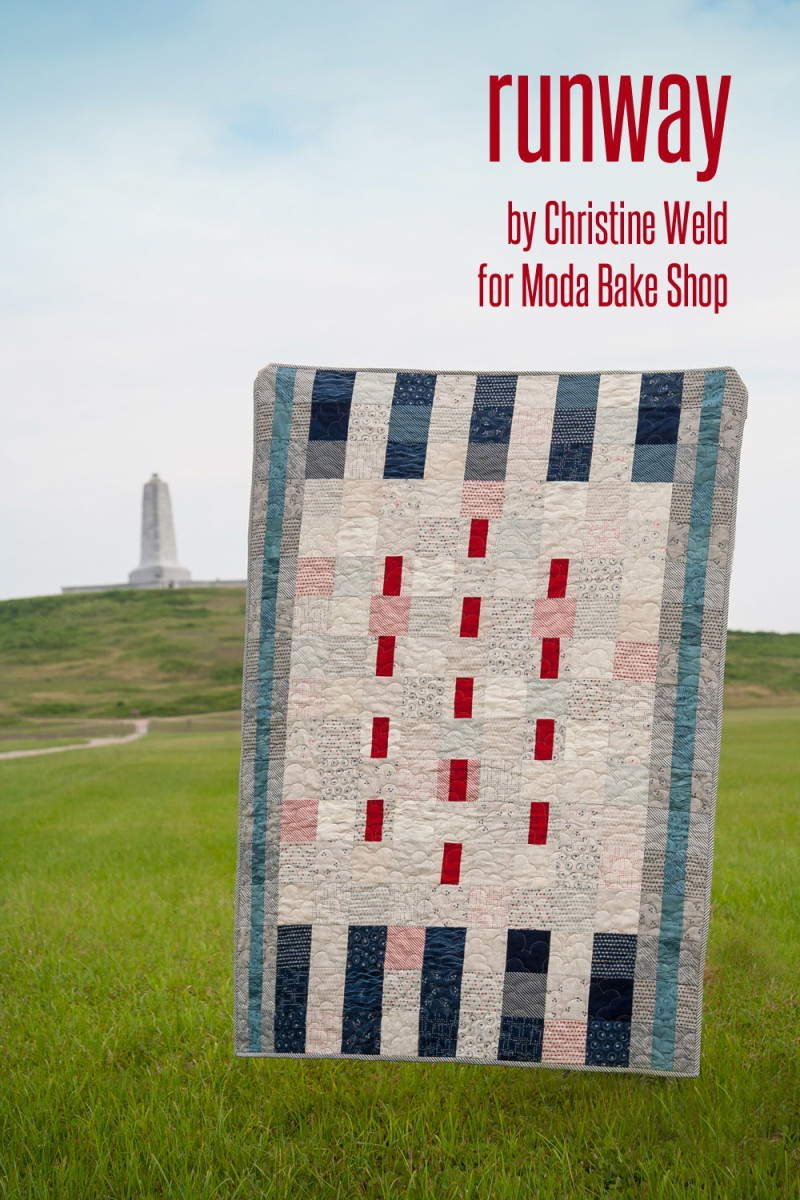
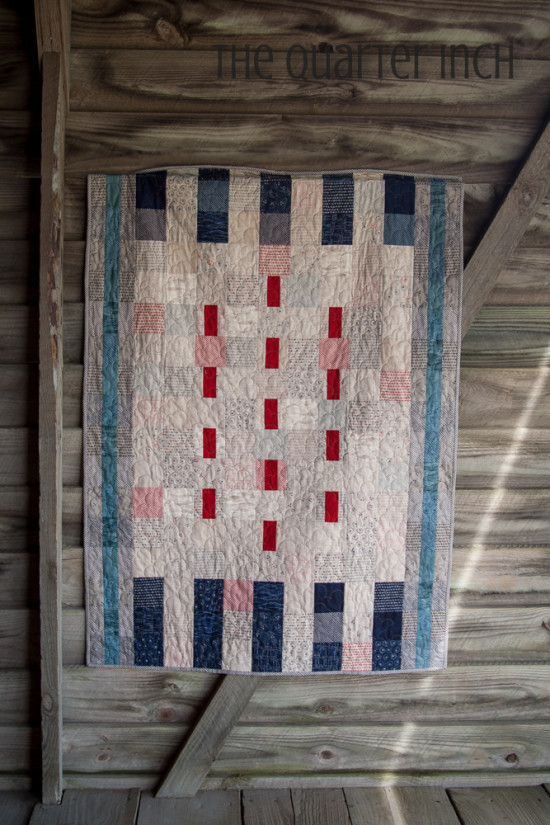
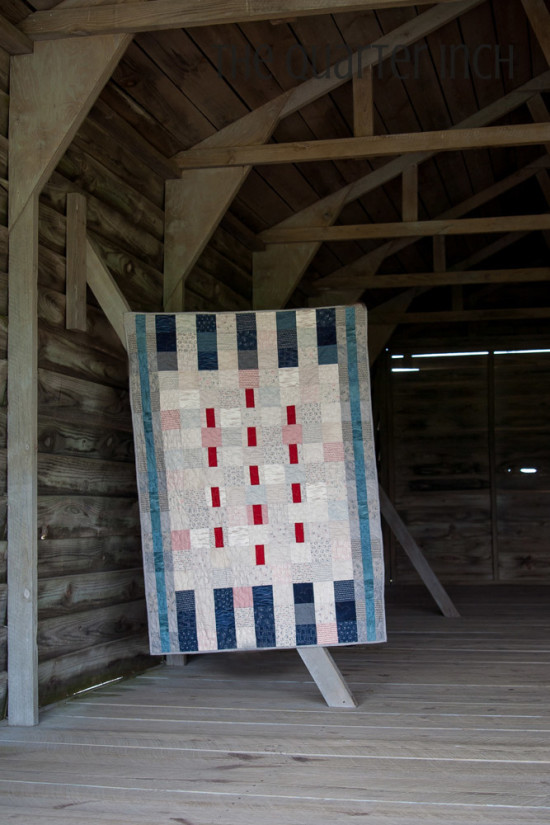
Hello quilters! Christine Weld from The Quarter Inch here. I'm taking off today with Runway, a modern, geometric quilt inspired by the markings on a runway. Perfect for beginners looking to soar, the quilt uses all squares and rectangles for easy piecing. Using deliberate fabric placement, these combine to form a quilt that will inspire journeys of the imagination!
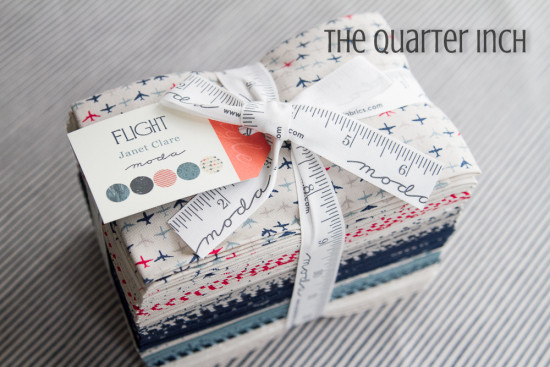
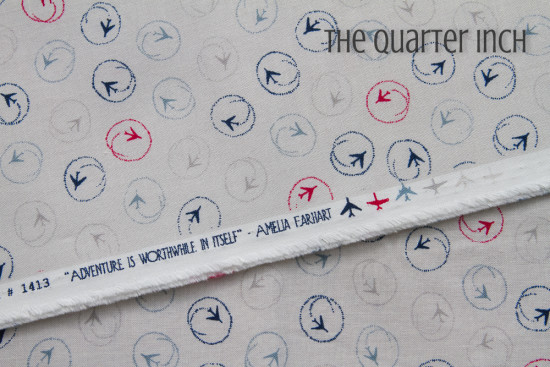
The quilt is made using Flight, a gorgeous new line from Janet Clare for Moda, with a retro vibe and beautiful small scale prints. The fabric would make a wonderful quilt for an Air Force veteran or any other aeronautic enthusiast.
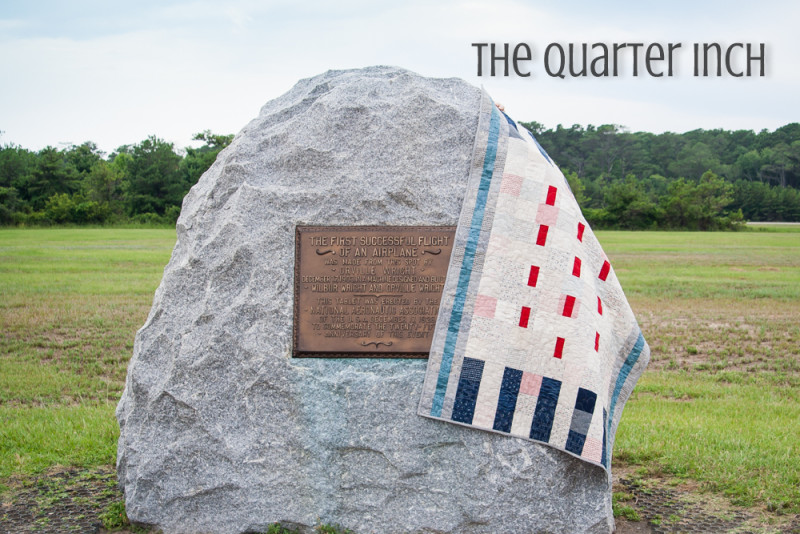
A trip to the Outer Banks of North Carolina fortuitously coincided with the completion of this quilt, and I took it with me on a field trip to the birthplace of flight, Kitty Hawk. The Wright Brothers National Memorial made a splendid (and appropriate!) backdrop for photos of this project.
The finished quilt measures 42" x 59 1/2".
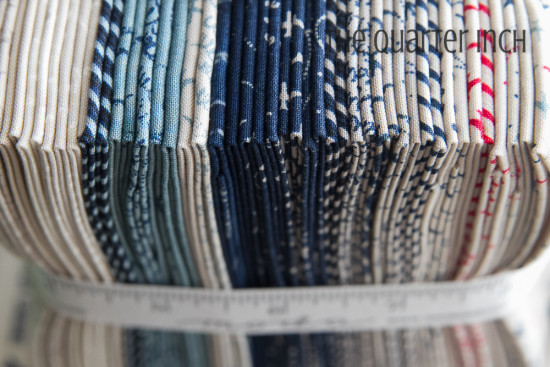
One "Flight" Fat Eighth pack
1/8 yard of a red solid (such as Bella Solids Scarlet 9900 47)
1/2 yard coordinating fabric for binding (I used Flight Nice Stripe Cream 1411 14)
2 yards coordinating fabric for backing (Note: scrap pieces will be added to widen the backing. Plan accordingly with a larger cut if you do not wish to do this!)
This quilt consists basic squares and simple three bar units and flies together!
Materials
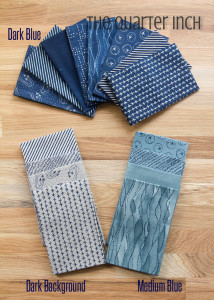
Separate from your fat eighth pack the following:
4 medium blue
4 dark background (for sides)
8 dark blue
The other 16 fat eights will be used for the background.
Cutting
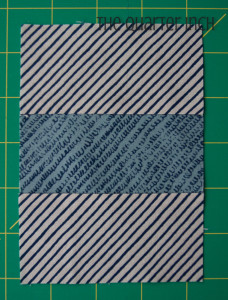
- From 13 of the background pieces, cut one strip off the short end of the fat eighth measuring 9” by 1 ½”. Trim these into 26 pieces measuring 4” by 1 ½”. Set aside in your "Red Stripe Block" pile.
- From the red solid, cut 13 pieces measuring 4” by 2”. Set aside in your "Red Stripe Block" pile.
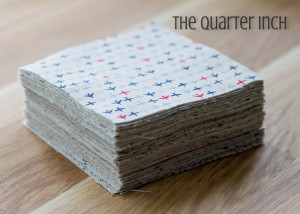
- Cut seven 4" squares from each of the 16 fat eighths for the background. You will need a total of 110 4” squares (you will have two squares leftover). Set aside in your "Background" pile.
- Cut eight 4” squares from each of the eight dark blue fat eighths. You will have a total of 32 4” squares (you will have two squares leftover). Set aside in your "Dark Blue" pile.
- From each of the four medium blue pieces, cut five strips 9” by 2 ¼”. Trim to ten pieces, measuring 4” by 2 ¼”, for a total of 40 pieces. Set aside in your "Side Block" pile.
- From each of the four dark background fabrics, cut nine strips 9” by 2 ¼”. Trim to eighteen pieces, measuring 4” by 2 ¼”, for a total of 72 pieces. Set aside in your "Side Block" pile.
Block assembly
Red Stripe Block
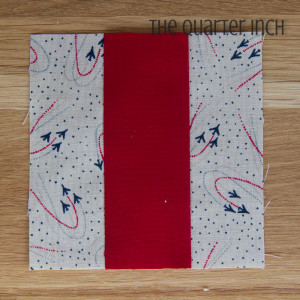
- Take the 26 background pieces measuring 4” by 1 ½” and the 13 red solid pieces measuring 4” by 2”.
- Sew one strip of 4” by 1 ½” piece of background fabric to each side of the 4” by 2” red pieces. Press towards red pieces. Set aside.
Side Blocks
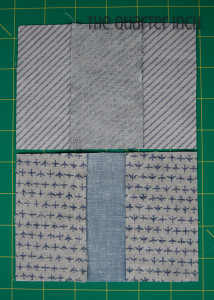
The side blocks are three bar rectangle units that measure 5 3/4” by 4” unfinished ( 5 ¼” by 3 ½” finished).
Take the dark background and medium blue 4” by 2 ¼” pieces. Sew together in three bar units, placing a medium blue piece in the center with a dark background piece on each side.
Press half towards the medium blue and half away from the medium blue. This will ensure the blocks will nestle together nicely.
Quilt top assembly
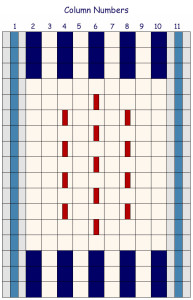
The quilt top will be assembled in columns. Refer to the following diagram for reference.
Note on pressing seams: All odd column seams will be pressed up, and even column seams will be pressed down. To help easily differentiate even columns from odd columns, remember that all even columns begin and end with dark blue squares.
Columns 1 and 11:
17 side blocks
Sew together the side blocks in two columns of 17, alternating the blocks with the seams pressed towards the medium blue with those with seams pressed away from the medium blue. Press horizontal seams up.
Columns 2 and 10:
Six dark blue squares
11 background squares.
Sew together with three dark blue squares on the top and bottom and 11 background squares in the middle.
Columns 3, 5, 7 and 9:
17 background squares.
Sew together 17 background squares.
Columns 4 and 8:
Six dark blue squares
Seven background squares
Four red stripe blocks
Sew together with three dark blue squares on the top and bottom, and alternating red stripe blocks with background squares. Add an additional background square just before the dark blue squares.
Column 6:
Six dark blue squares
Six background squares
Five red stripe blocks
Sew together with three dark blue squares on the top and bottom, and alternating red stripe blocks with background squares.
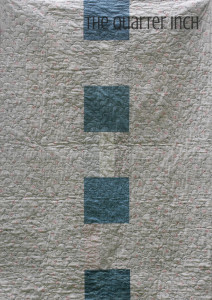
Piece Backing
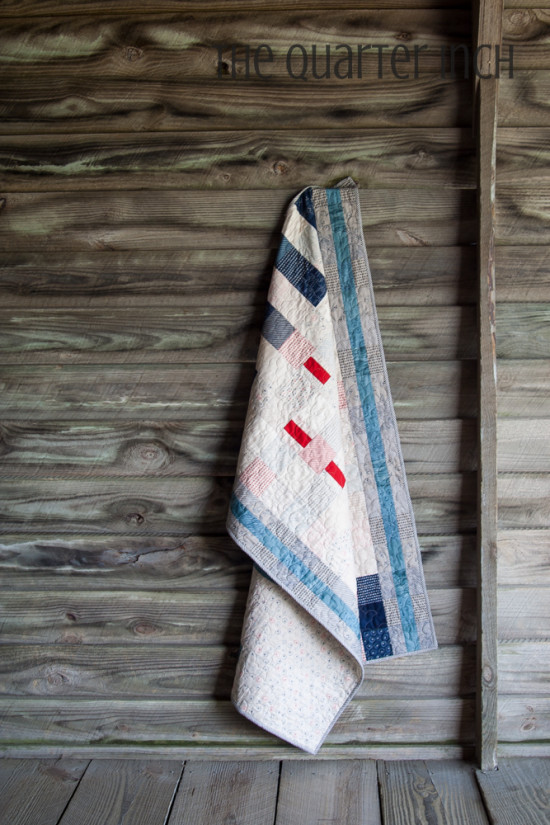
The size of this quilt lends itself nicely to a pieced backing. I used a two yard cut of fabric for the backing, with pieced scraps sewn down the middle. You should have plenty of scraps left from your fat eighth pack to piece a fun design on the backing.
Quilt and Bind
Quilt as desired and bind.
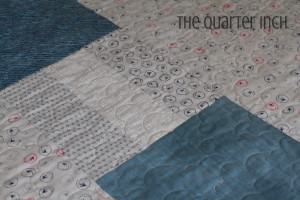
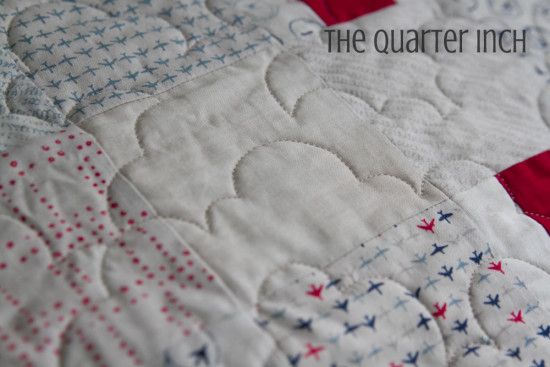
I quilted the project on a longarm using the Cloud Nine pattern.
This quilt finishes at 42" x 59 1/2". Take your finished quilt on an adventure! Like Amelia Earhart (and the selvage edge) said, "Adventure is worthwhile in itself."
Christine Weld
The Quarter Inch

