Welcome to Moda Fabrics!
I've Got A Notion - Rulers
I've Got A Notion - Rulers
Even if they never used one, I doubt any quilters have missed cardboard templates. Not when we can use rotary cutters and acrylic rulers to get accurate, consistently-sized pieces for patchwork.

If you own a rotary cutter, it's a safe bet that you have at least one rotary cutting ruler. Probably more.
This list is about types and options, not about which rulers you need, different brands, or which one is best. Our hope is that it will help you figure out which rulers-templates you do need - those that are best-suited for the kind of quilting you do.
There isn't any easy starting point so let's start with a fairly common question - why are some rulers 6" wide and others are 6.5" wide?
My first rotary cutting ruler - circa 1983 - measured 6" x 24". I think the size was chosen because it sounded good. Those were nice, round numbers. Except... seam allowance?
So 6" or 6.5"? Only you can answer that question based on the size pieces you cut the most, the size blocks you make and the brand of ruler you prefer. (Some brands only make whole-inch sizes.) I will add that I think the extra 1/2" is more important for square rulers than rectangles.
Brand loyalty? There are those who believe that we should stick to a single brand of ruler for our "everyday cutting", for our basic square and rectangle rulers. The theory is that the thickness of the lines can result in pieces being slightly different sizes. You can be the judge of that with your rulers but looking at the rulers I own and use with a very critical eye, that difference might be 1/64" or 1/32". Just saying... I think I'm good.
Brand difference? From the color to the number of measurements and markings, the location of the logo to the size of the numbers, every ruler brand has a few identifiable elements. Which one is best for you? Are you right or left-handed? Can you cut with both hands? What is the lighting like where you cut most of your fabric? Do you want minimal markings and big numbers?
Only you can answer those questions, and the answers to those questions will affect which ruler brand you prefer. Omnigrid, Olfa, Fiskars, TrueCut, Creative Grid - they're all good rulers.

So let's get started.
Square rulers - used for cutting pieces for patchwork, trimming pieced units like half-triangle squares and squaring up blocks. If you prefer small blocks and pieces, smaller rulers are probably your go-to-favorites.
- 4.5" x 4.5"
- 6" x 6" and 6.5" x 6.5" - probably the most common and if you're going to have just one, this is the size to have.
- 9" x 9" and 9.5" x 9.5"
- 12" x 12" and 12.5" x 12.5"
- 18" x 18" and larger - particularly useful if you do a lot of appliqué.
Rectangles - used primarily for the initial cutting of yardage, fat quarters and fat eighths. The 6" x 12" and 6" x 24" - even or with the additional 1/2" - are the most frequently used rulers by most quilters.
- 1" x 6" and 1" x 8" - handy for marking and drawing lines.
- 2.5" x 6" and 3" x 9"
- 3" x 18"
- 4" x 14" - surprisingly handy and versatile.
- 6" x 12" and 6.5" x 12.5" - the 2nd most popular and common rectangular ruler.
- 6" x 24" and 6.5" x 24.5" - the most popular and a "basic" that every quilter should have.
- 8.5" x 24" - this is a versatile ruler and many quilters deem this a "must-have", but only if you know you're always needing to "double-up" rulers to get strips wider than 6" or 6.5".
Technique, shape or project specific - these are rulers that perform a specific function like trimming corners, cutting angles or shapes, etc.
- Half-triangle rulers - for making half-triangle squares and flying geese by cutting triangles - Easy Angle and Companion Angle. The Easy Angle cuts the 45° triangle for HTSs and the corners of flying geese, and the Companion Angle cuts the large triangle for geese.
- Connector corners or folded corners - these are any corner with a triangle in it, e.g., snowball blocks, flying geese. Lines can be drawn across the square for a stitching line, or a ruler like Antler Quilt Designs' Simple Folded Corners and Mini Simple Folded Corners can be used. This ruler includes a method for over-sizing the triangles and squaring up the corners.
- Half-triangle square rulers - Quilt In A Day's Triangle Square Up Ruler and Bloc Loc's HST Rulers. The QIAD ruler requires two cuts to trim the HTS before pressing, the Bloc Loc requires four cuts to trim the HTS after pressing.
- Rectangle Rulers - for making half-triangle rectangles - like Split Recs by Studio 180 and HRT Rulers by Bloc Loc.
- Cutting sizes given - like the No-Math Flying Geese Ruler by Lazy Girl Designs. Using a single method, this ruler has the cutting lines for the squares to make a dozen finished sizes of flying geese.
- Side and corner setting triangles - like Marti Michell's Diagonal Set Triangle Ruler. For use with diagonally set quilts, this ruler gives the cutting sizes for the side setting and corner triangles required for a dozen sizes of finished blocks.
- Trim-down rulers for specific units - Triangles In a Square, Kite in a Square - Straight and On-Point and Drunkard's Path.
- Kaleidoscope - Marti Michell's Kaleido Rulers and Bloc-Loc's Kaleidoscope Rulers
- Pineapple ruler - Large Square Squared by Studio 180, Pineapple Ruler by Marti Michell and Pineapple Ruler by Bloc Loc.
- 60° ruler - for cutting 60° triangles like the Clearview 60° Triangle Ruler.
- Dresden ruler - for making Dresden Plate blocks with a curved or pointed edge - like the Easy Dresden by EZ Quilting, the Tiny Dresden Plate Template by Suzn Quilts, and the Double Wide Dresden Ruler by Me & My Sister Designs.
- Strip-cutting rulers - for quickly cutting multiple strips, and even squares, without moving the ruler. Like the June Tailor Shape Cutter Template Rulers and GE Designs Stripology.
- Hexagon Rulers - for cutting hexagons and setting pieces with a rotary cutter - like Hex-n-more by Jaybird Quilts, the Hexagon Ruler by Marti Michell, and You Hexie Thing Hexagon Ruler by June Tailor.
- Add-A-Quarter - technically not a ruler but it will automatically add a 1/4" seam allowance to any straight angle or edge, and provide a straight edge for your rotary cutter. This is especially useful for paper-piecing and string-piecing.

Tape, dots and sticky-stuff. Rulers can slide on fabric. It's that simple. Depending on how many layers are being cut, the amount of pressure being applied, and how easily your hands are moved down the ruler to apply pressure... they can slide a lot. Some rulers come with no-slide backings, gripper dots and the like, and some quilters love it. But if your favorite ruler doesn't have those things, there are options for adding "gripper" stuff to the back of the ruler.
- Sandpaper Dots - like Fabric Grips Sandpaper Dots by Collins. These dots measure approx. 1/4" in diameter and have an adhesive backing that allows them to be stuck to the corners and edges of rulers and templates so they don't slip.
- Invisi Grip by Omnigrid - this clear, non-slip plastic material is applied to the cut to size and applied to the underside of rulers and templates.
- Traction Tape by Bloc Loc - 1" wide tape that is easily applied to any ruler to give it "traction" so it won't slip.
A caveat... both Invisi Grip and Traction Tape clearly state that they do not leave a residue, and clean up easily with warm water. Every tape, dot or material applied to a ruler or template should state that clearly as the only way to remove a gummy residue is with a product that could remove the markings of the ruler, or damage it. Tapes and other adhesives should be low-tack and some folks believe the products should be switched-out or replaced every couple of months to prevent any build-up.

Care of rulers. Just like our sewing machines, irons and cutting tools, our rulers need a little TLC to make them last.
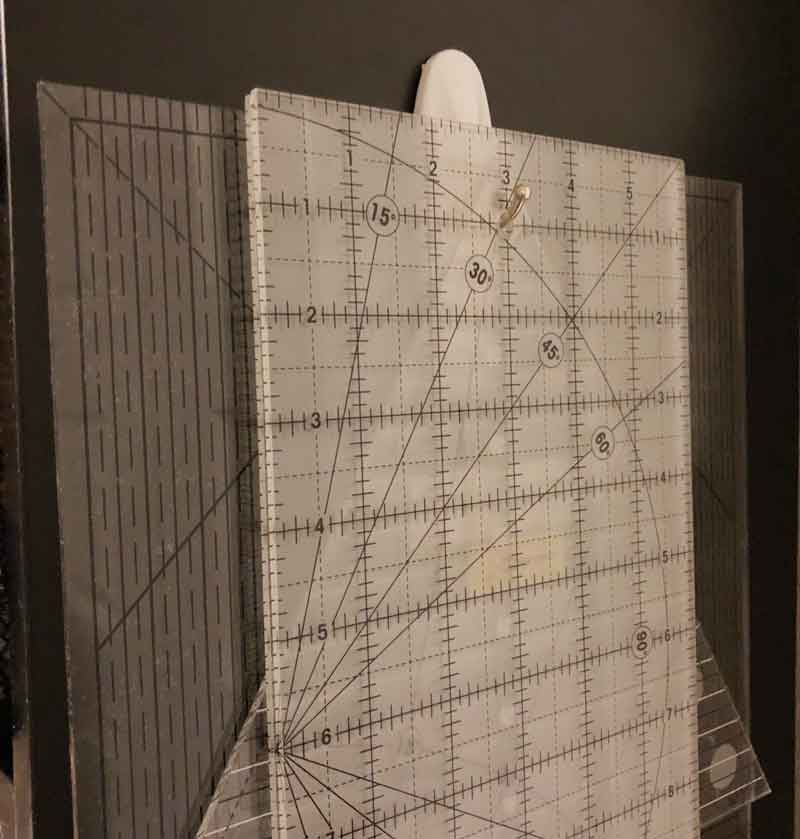
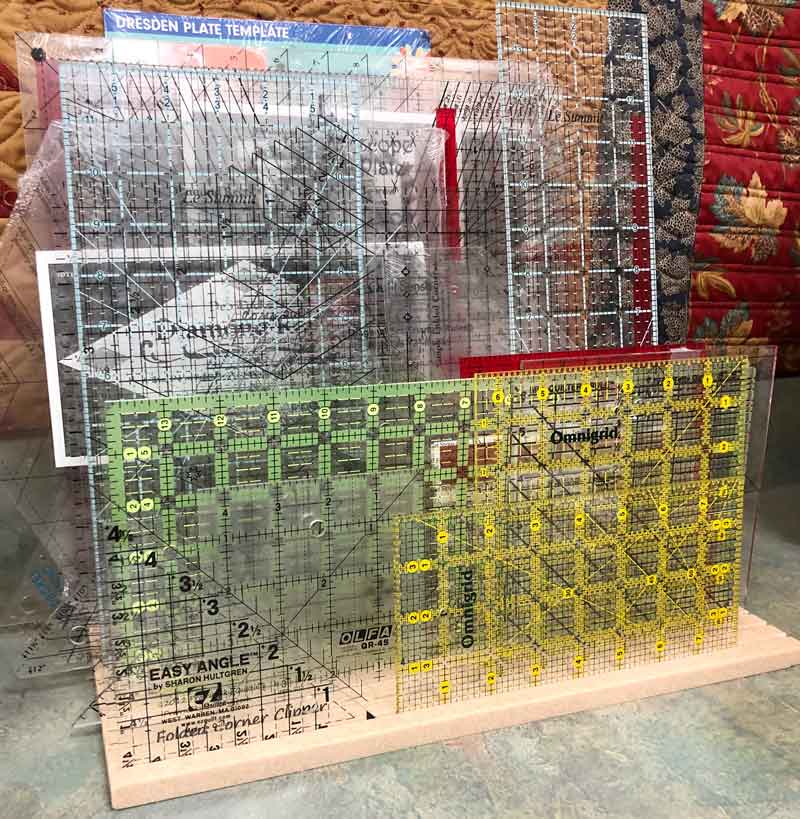
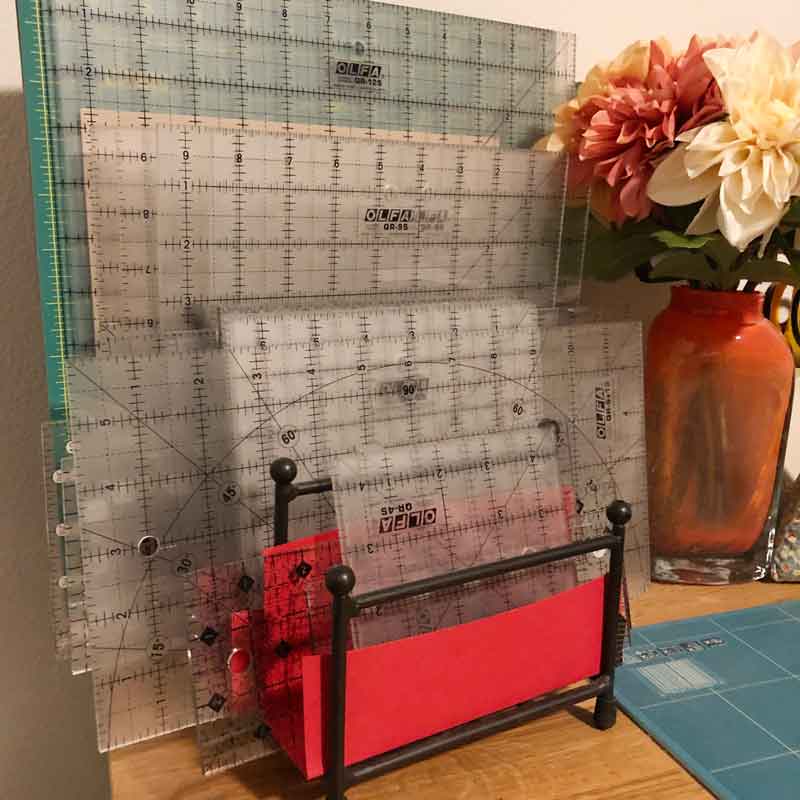
Storage. The options are wide ranging - hanging on a peg-board, standing or stacked in a ruler rack - free-standing or hanging on the wall, or stacked in another kind of rack. The two most important things to keep in mind are that the rulers are stored flat - that they are not bowed - and that the corners of the rulers are protected.
Rulers that aren't used frequently can be kept in a shallow box, bin or drawer.
Do not display-store rulers in direct sunlight, or next to a heat-source. They are plastic-acrylic and they will dry out, becoming brittle and therefore, more easily chipped and cracked.
Cleaning of rulers and templates. Because we're handling them all the time, rulers get dirty. Do not use abrasives or cleaning solvents with ammonia or bleach to clean rulers as that can remove the numbers and markings. Cleaners designed specifically for plastic like Novus, PlastX or Sparkle are all good options, and all can be found at a grocery or hardware store.
Use a soft, clean cotton cloth or rag to clean the rulers, not a paper towel or sponge. Clean the top and bottom of the ruler, and along the edges. This is a good time to run your fingers along the edges to make sure there aren't any burrs or rough spots.
Rulers and templates can then be rinsed in cold water and dried - again with a soft, clean cotton cloth or rag.
Scratches. If the ruler has small, light scratches on the top surface of the ruler, buffing-polishing the ruler with a plastic polish is an option. But only if they get in the way of using the ruler.
And finally, because you really can't use a rotary cutter and ruler without a rotary cutting mat...
Rotary Mats. As for rulers, cutters and everything else, there isn't a "best one", there is only the "best one for you." What fits your space, the way you cut, your budget, and your aesthetic - for some quilters, living without a Pink cutting mat is simply unacceptable.
Sizes. There are several manufacturers for mats and the sizes each offers varies a bit. Well-known, quilt-shop quality brands include - OmniGrid, Fiskars, TrueCut, Olfa, Precision, Kai, Sullivans Cutting Edge, Martelli, and Mega Mats.
- 6" x 9" - for trimming next to your machine, fussy-cutting small templates and any small-scale cutting. (This actually measures 6-7/8" x 8-7/8".)
- 8" x 10" to 9" x 12" - these are also nicely sized for trimming next to your machine, fussy-cutting and small-scale trimming. These are also portable for taking to classes and retreats.
- 12" x 18" - this is a popular size mat as they are versatile in that they don't take a lot of space, and they are portable for classes and retreats. They're excellent for cutting pre-cuts, cutting pieces from strips and squaring up pieces and blocks.
- 18" x 24" - this might be the most-owned size as it is large enough for cutting yardage without additional folding.
- 24" x 36" - now we're talking! If you have a large cutting space, this is probably the mat you have. Cutting yardage and trimming up quilts can be easily done on the larger surface.
- 32" x 55" and larger - these mats are either a single mat like Mega Mats, or are joined with clips like Olfa's 35" x 70" Continuous Grid Mat.
There are also the following specialty cutting mats:
- Rotating cutting mats - available in sizes various sizes - 8" x 8", 12" x 12", 14" x 14" and 17" x 17" - rotating mats are terrific for trimming various units, squaring up blocks, cutting with templates and fussy-cutting.
- Folding cutting mats - these mats are terrific for small sewing spaces, small storage spaces and taking to classes and retreats. A scalloped edge on the fold allows the mat to "mesh" together so that the rotary blade moves cleanly over the fold.
Using the lines on the cutting mat for cutting? Before you rely on this, lay a ruler down on your cutting mat to check the accuracy. If it's accurate and that's how you like cutting, that's what you should do. As always, do what works best for you!
Caring for a cutting mat. Rotary mats do wear out, it's that simple. Sunlight and heat can cause them to dry out, making them less durable. They can also cause mats to warp, often resulting in a ruined mat. Here are a few suggestions to prolong the life of your cutting mat:
- Keep your mat on a flat surface - even when not in use. If it will not be used for a prolonged period of time, cover it with a cloth or piece of plastic to keep it from getting dusty.
- Keep the mat away from heat and light sources. Also take care that it is not exposed to a lot of steam - like from a steam iron.
- Clean the mat by wiping it with a cloth to remove dust and lint. Use a soft brush to remove any fibers that might be caught in "cuts". Mist a clean, soft cloth with water to dampen it and wipe the entire mat again. Let the mat dry.
- Soaking the mat to rehydrate it? Some folks swear by this but it requires a tub large enough to allow the entire mat to be soaked while laying completely flat.
Whew.
The last thing to say is that as it is with everything in quilting, there isn't any one way-thing-method that to do something. Even when it comes to threading a sewing machine, while all machines are different, they all pass through something that controls the tension and through the eye of a needle, how they get there is different.
Use the rulers and mats that work best for you, that you prefer.
Happy Tuesday!

Comments