Welcome to Moda Fabrics!
MMQAL- Week 19
MMQAL- Week 19
Week 19 – MMQAL Small Patchwork Framed blocks
Hello everyone, It is me, Tammy V, back for a finishing step on the Midnight Moon QAL.
Today we have a few surprises in store, but first, the small Patchwork framed blocks. Throughout this series, I have discussed the opportunity to square up the blocks, which is what we are working on today. First, find the small blocks that need the small patchwork frame blocks- Maple Star, Patchwork Big O, Southern Star, Checkerboard, Darting Birds, Nonsense. Set aside the additional background fabrics for each of these blocks also.
I am a frugal quilter and like to use bits and pieces I have already cut, so I have put together this little video on my process for assembling the patchwork blocks to sew around the small blocks. You will still need to follow the instructions in the book for overall assembly.
Link to Video here.

Have you been making the bonus blocks? When I started this project, I thought how fun it would be to add something special for each of you. After all, this is no small undertaking, right? Originally I planned on adding the bonus blocks to the front of the quilt but decided that may through off balance. April Rosenthal wanted to play along, so she designed the blocks for us. April’s blog can find all of the instructions for these blocks.
I love love love creating, and sometimes it is about not having a plan, jumping in, and seeing where the creative process takes me. I thought I would share what I did, but many options exist. I can't wait to see what you end up making.
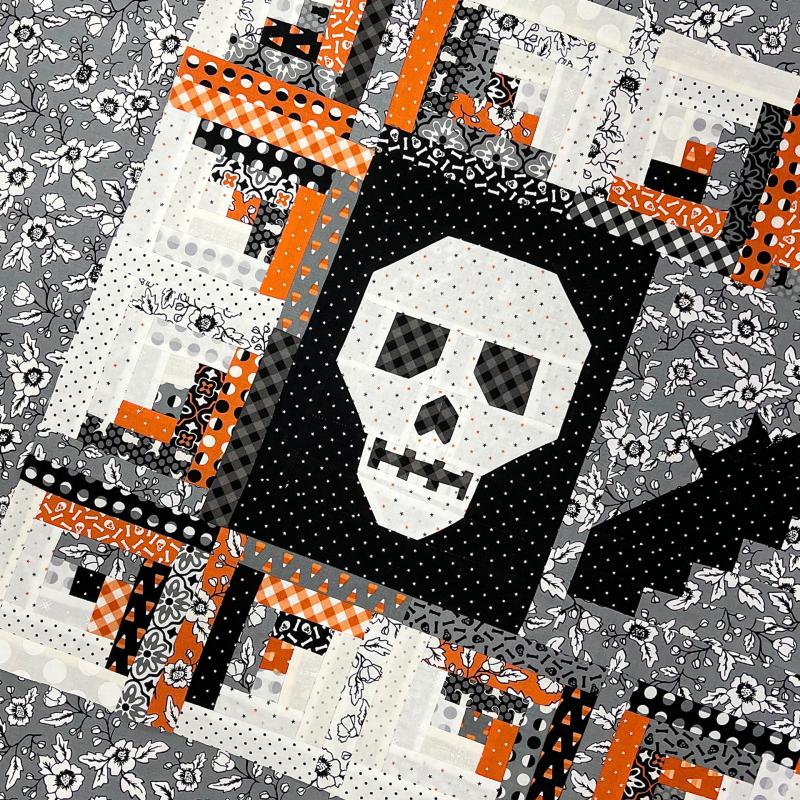
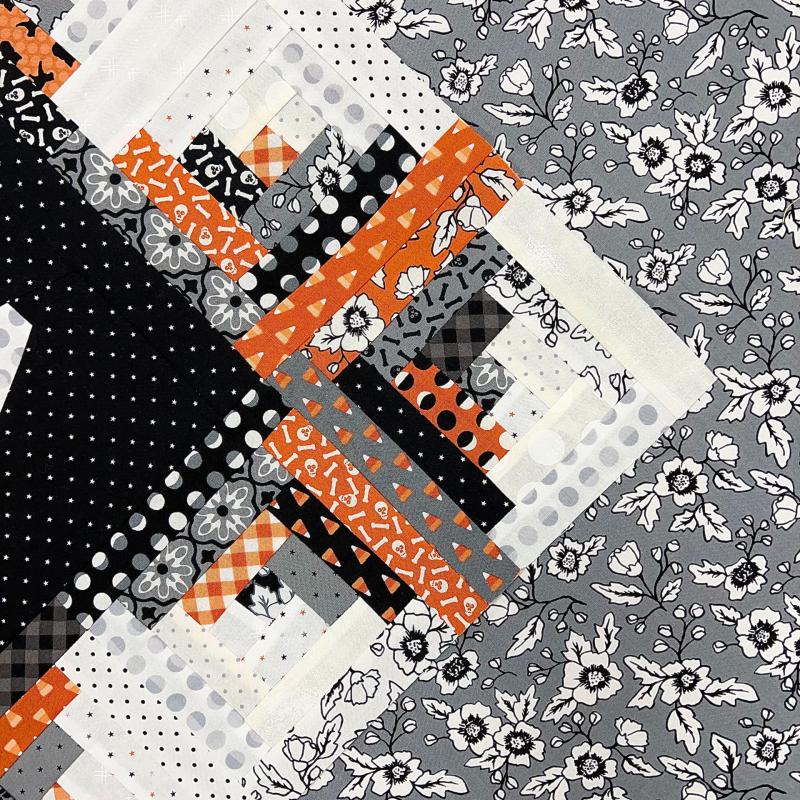
I like using every bit, so I started making mini log cabin blocks
(pattern below). I couldn't help but join the bonus blocks and border them with log cabins. There were so many layouts. I made an extra bat block and decided on this layout.
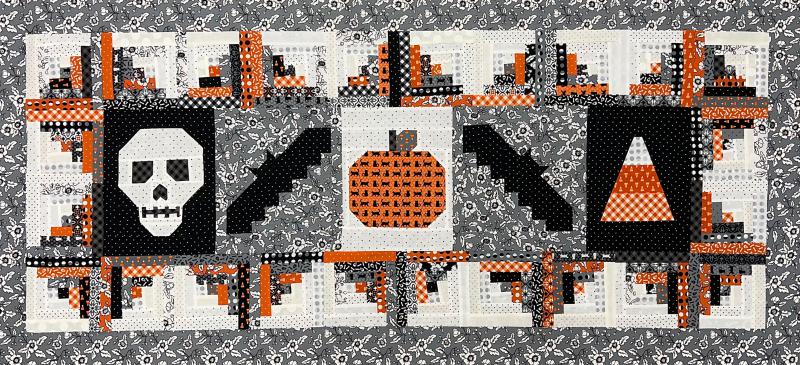
I don’t know if this happens to you or not, but once I had the table runner together, I thought what an excellent pieced back it would be. The table runner is laid on fabric to envision a pieced back. Head spinning!
What else could we do?
The blocks could be used individually as a pillow, tote, or even applique on clothing. April also shared the blocks as quilts.
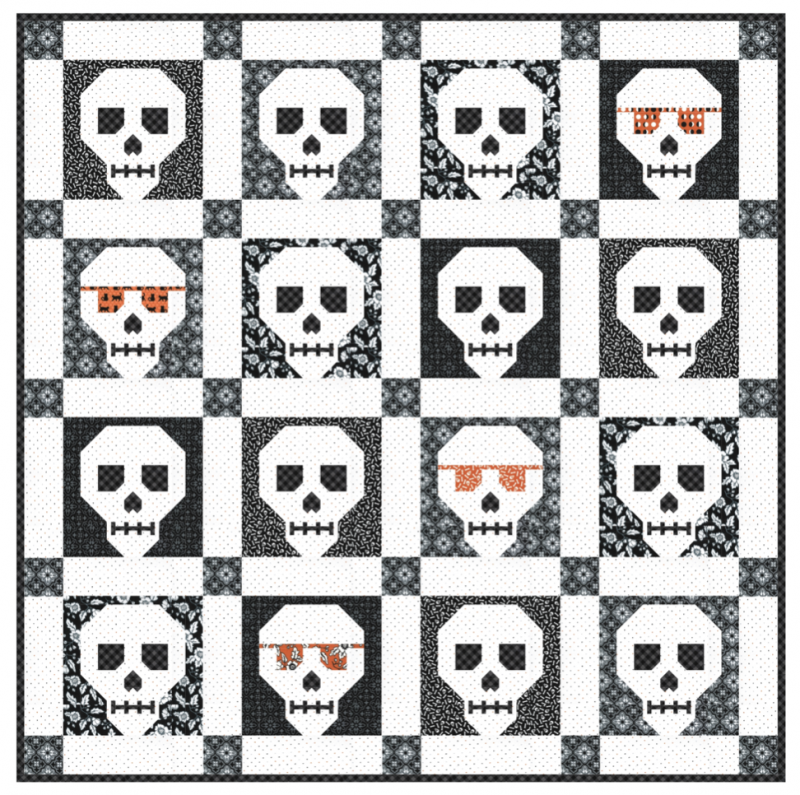
This is what April has to say about this quilt... If I were going to make a whole quilt out of this block, I know just what I’d do….a little tweak to a few of the blocks to make them a little more….suave. And I’ve got myself a cheeky Skelly quilt that will make me laugh every time I see it. ;)
Another one from April
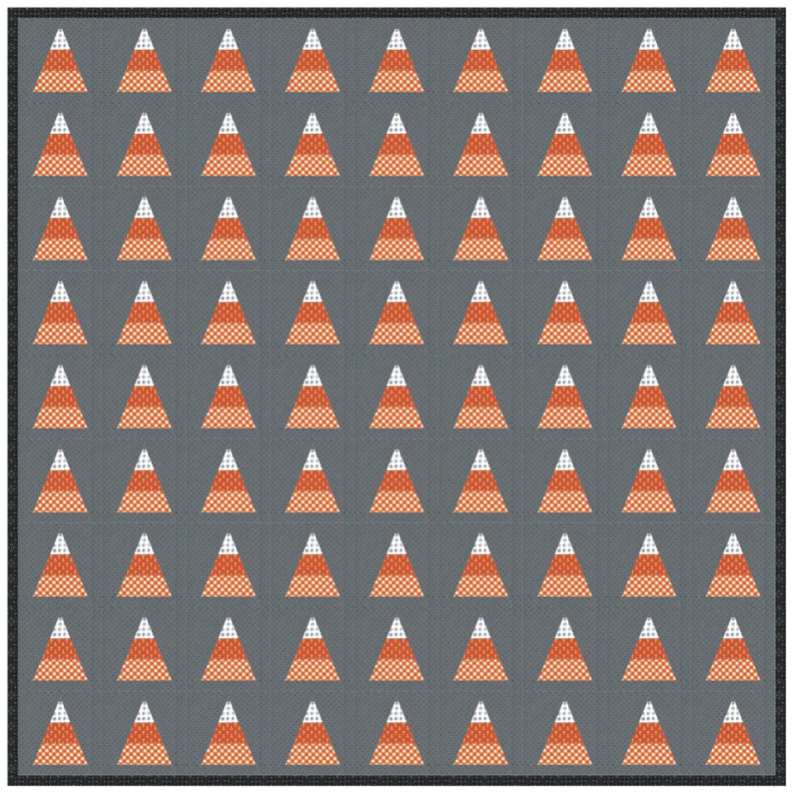
I’m not sad about the blocks being so addicting because, honestly, I can’t get the idea of a bunch of little Candy corn blocks making a king-sized quilt for my bed out of my head. Crazy? Perhaps. But I’ve done worse. -April
(click on either of the pictures to see April's post and download the pattern)
Please share your ideas or let us know what you plan on doing in the comments.
To recreate this runner, grab some of your scraps and cut them down into 1 ¼” strips for the log cabin border; you will need 24 log cabin blocks.
Remember, you will still need to make the flying geese border for the small blocks and frame up the medium and large blocks with their background fabric. So don’t cut up all your scraps.
You can download the table runner pattern, here.
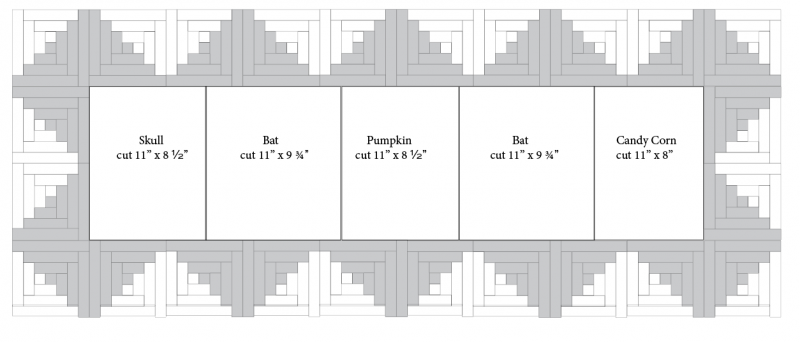
To assemble the runner, sew 8 log cabin blocks together for the top and another eight blocks for the bottom.
Sew four blocks for each side, noting that the layout forms the zigzag border.
Measure your top and bottom pieces. They should be close to 42 ½” long. This is the size your bonus blocks sewn together should measure. You can take away the seam allowance (½”) and divide 42” by 5 and add back the (½”) for each block to get a uniform size block. This comes out 8.9” wide for each block. Shown below are my block sizes. You have to play a bit with this to make it all work. I just started cutting and adding borders, so mine is not consistent. All the bonus blocks need to be 11” tall.
Thanks for joining us today; see you next week for some more spooky quilting tips.
- Tammy V.

